A karaoke machine is a device that allows users to sing along to instrumental tracks while displaying lyrics on a screen. It’s a combination of a music player, microphone amplifier, and lyric display unit — all working together to deliver that unforgettable karaoke experience.
Modern karaoke systems are far more advanced than the classic CD+G (Compact Disc + Graphics) players. Many now include Bluetooth connectivity, HDMI outputs, and even smart app integrations. These upgrades make connecting your karaoke machine to a TV easier than ever.
The connection between a karaoke machine and a TV relies on audio and video outputs.
Audio output sends sound from the karaoke machine to speakers or the TV.
Video output sends the lyrics and visuals to your TV screen.
Understanding which outputs your machine has — HDMI, RCA, optical, or Bluetooth — determines the best connection method.
Older karaoke machines use RCA (red, white, yellow) connectors. These output both sound and video and can easily connect to most older TVs. However, modern smart TVs may need an RCA-to-HDMI adapter to make them compatible.
Wireless karaoke systems use Bluetooth or Wi-Fi to send sound directly to your TV or speaker system. These are ideal for newer TVs that support Bluetooth pairing or wireless display features.
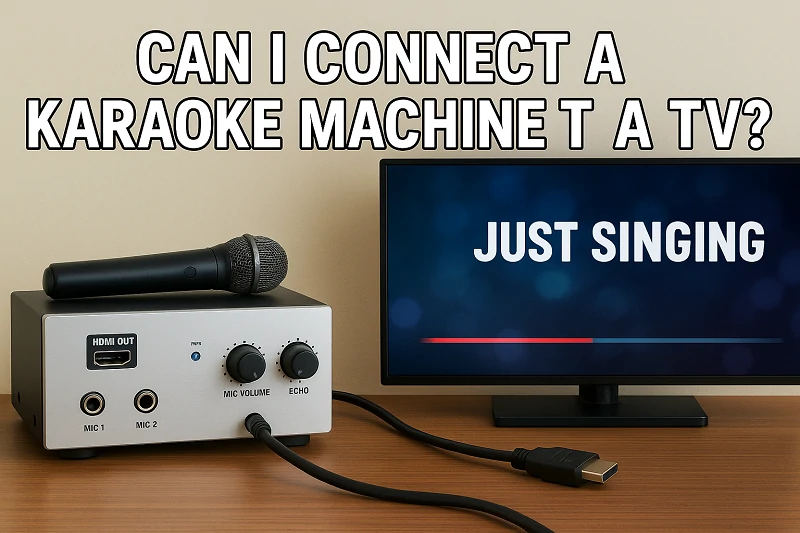
Most 2025 karaoke machines feature HDMI ports, providing high-definition audio and video through a single cable. HDMI is the simplest and most reliable method for connecting your karaoke machine to a TV.
This is the best and most straightforward method.
Connect one end of an HDMI cable to your karaoke machine and the other to your TV’s HDMI input.
Switch your TV input source to that HDMI port.
You’ll get crystal-clear video and sound instantly.
For older machines or TVs, use the red, white, and yellow RCA cables.
Yellow carries video, while red and white handle audio.
Plug them into matching color-coded ports on your TV.
This setup provides good results but not as sharp as HDMI.
Many modern karaoke machines allow wireless pairing:
Turn on Bluetooth on both your TV and karaoke machine.
Pair them following the on-screen instructions.
You can then stream both lyrics and music wirelessly — perfect for Smart TVs like Samsung, LG, or Sony.
If you want richer sound, connect your karaoke machine to a soundbar or home theater system.
Some users even connect the karaoke machine directly to speakers and the TV separately for maximum performance.
Check whether your karaoke machine has HDMI, RCA, or Bluetooth capabilities. This determines which method you’ll use.
Plug in your chosen cable type securely. If using HDMI, one connection is all you need.
Go to your TV settings and select the correct input (HDMI1, AV1, etc.).
Play a karaoke track to ensure both lyrics and audio appear correctly.
Most smart TVs support plug-and-play HDMI connections. For Bluetooth, pair your devices in Settings → Sound → Output → Bluetooth.
You can also use karaoke apps like Smule, KaraFun, or YouTube Karaoke playlists. Just mirror your phone or tablet to the TV via screen casting or Chromecast.
Check if the TV’s sound output is set to the correct source.
Ensure the volume is turned up on both devices.
Try reconnecting the audio cables.
Verify that your TV is set to the correct HDMI or AV input.
Test the cable on another port to ensure it isn’t damaged.
Reduce wireless latency by switching to HDMI instead of Bluetooth.
Enable “Game Mode” on your TV to minimize input lag.
Unpair and re-pair devices.
Keep the karaoke machine within 10 meters of the TV.
Adjust the microphone volume and echo settings for balance.
Use external speakers or a soundbar for better sound projection.
Optimize lighting for a true karaoke bar atmosphere.
Enable Closed Captions (CC) if lyrics seem blurry or too small.
| Brand / Model | Connection Type | Best For |
|---|---|---|
| Kingluckuy S16 | HDMI / Bluetooth | Families & Parties |
| KaraoKing Pro 2.0 | Bluetooth | Home Use |
| Kinglucky k88 | RCA / HDMI | Beginners |
| Vocopro SmartTVOke | HDMI | Professional Singers |
For a detailed list, visit Best Karaoke Systems 2025 Guide.
Always unplug cables before switching devices.
Avoid tangled cables to prevent tripping hazards.
Keep liquids away from electrical components.
Use surge protectors to prevent damage from power surges.
Q1. Can I connect my karaoke machine to any TV?
Yes, as long as your TV has compatible input ports like HDMI, RCA, or Bluetooth.
Q2. Why is there no sound when I connect my karaoke machine to the TV?
Check the TV’s sound settings and ensure the correct input is selected.
Q3. What if my karaoke machine only has RCA outputs but my TV has HDMI inputs?
Use an RCA-to-HDMI converter. It’s affordable and widely available.
Q4. Can I use my Smart TV’s built-in apps for karaoke?
Absolutely! Apps like Smule, YouTube Karaoke, and KaraFun work great.
Q5. How do I connect wireless microphones to my karaoke setup?
Most wireless mics connect via USB dongles or Bluetooth directly to your machine.
Q6. Which is better — HDMI or Bluetooth connection?
HDMI offers higher sound and video quality, while Bluetooth provides more flexibility.
So, the answer to “Can I connect a karaoke machine to a TV?” is a resounding YES!
With the right cables or wireless setup, you can turn your living room into a full-on karaoke bar. Whether using HDMI for simplicity or Bluetooth for convenience, modern karaoke systems make setup effortless and fun.
Now grab your mic, queue your favorite songs, and sing your heart out — your TV is ready to shine as the ultimate karaoke stage!


